BLOCK SMASH BOSS FIELD GUIDE
Written and tested by Diligesker Lab · Mechanics reviewed July 30, 2026 · Report a correction
The first Block Smash boss appears on turn 36. That encounter is not simply a larger version of an ordinary wave: the boss accepts direct collision damage, but blocks collateral and most status effects. A build that clears normal blocks through splash, chain, Freeze, or poison can therefore reach turn 36 looking powerful and still lack a reliable way to finish the boss.
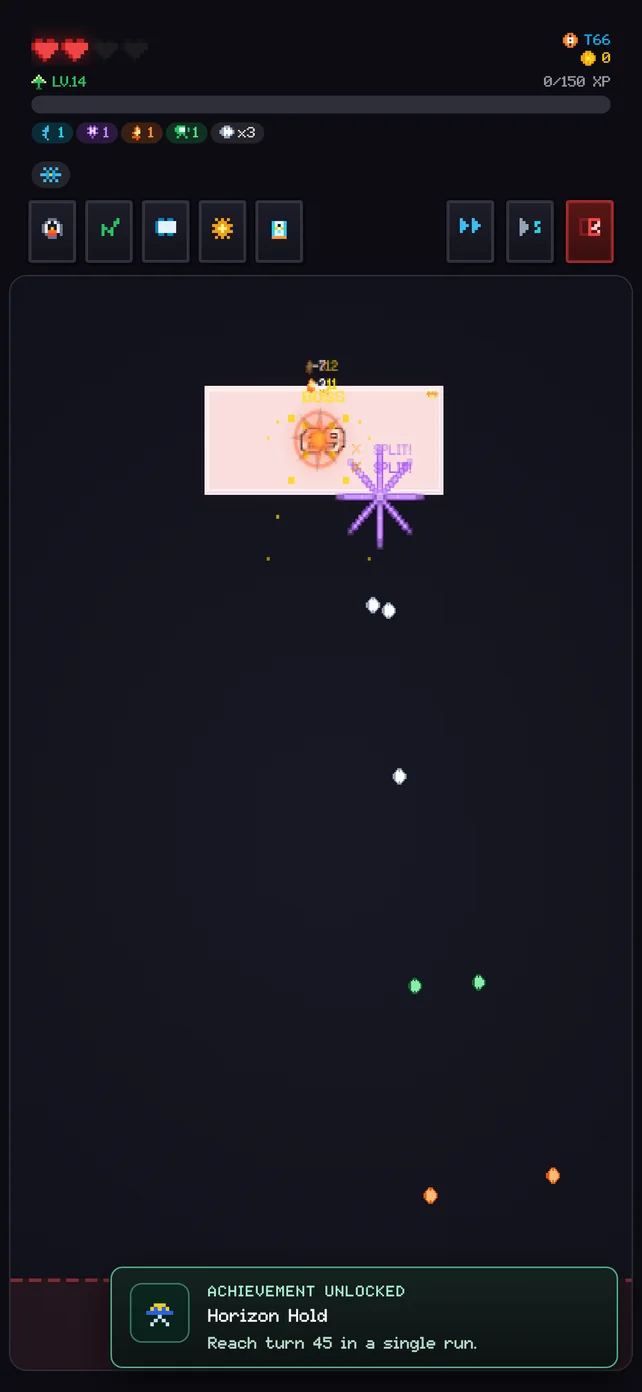
Start with the immunity map
| Effect | What happens against a boss | What remains useful |
|---|---|---|
| Fire | The destroy splash does not damage the boss. | The Fire Ball’s direct collision can still deal damage. |
| Lightning | Normal chain damage does not transfer to the boss. | The initial direct hit remains; Storm Relay is a defined exception that allows reduced boss chain damage. |
| Ice | The boss cannot be frozen. | Ice Ball direct-hit damage still applies. |
| Poison | Normal boss targets exclude poison state. | The direct hit remains; Venom Bloom can apply a deliberately weakened boss poison. |
| Plasma and Void | Overload and low-HP instant destruction do not trigger on the boss. | The original ball collision still contributes direct damage. |
| Horizontal and vertical beams | Beam collateral excludes bosses. | The ball’s direct contact still matters, while beams can clear eligible ordinary blocks. |
| Mark | Mark is the explicit status exception. | The first Mark Ball contact applies Mark; later direct hits receive the marked-target multiplier. |
The practical lesson is not “avoid elemental balls.” Those balls can still be valuable during the thirty-five turns before the encounter and against ordinary blocks that remain on the board. The safer rule is to identify which part of the build is board clear and which part can repeatedly reduce boss HP.
Build one dependable direct-hit line
Direct-hit damage is assembled before the game evaluates most secondary effects. Ball damage, rebound scaling, character and relic multipliers, ball-specific direct-hit scaling, and critical damage can all contribute to the collision itself. This makes a repeated contact path more dependable against the boss than a plan whose damage exists only after a splash, chain, Freeze, poison tick, Overload, or execute condition.
Mark Ball creates a special two-step plan. Its first hit on an unmarked target applies Mark instead of dealing the normal direct-hit damage. Once marked, later direct hits receive a large final-damage multiplier. Do not treat the setup ball as the payoff. A useful Mark loadout needs enough following balls, rebounds, or future shots to exploit the marked state.
Before turn 36, describe the boss plan in one sentence: “My direct hits scale through rebounds,” “my critical package raises repeated contact damage,” or “Mark prepares the boss for the rest of the volley.” If the sentence only says “my splash is large” or “my chain clears the screen,” the build has described its wave-clear plan, not its boss plan.
Separate damage support from survival support
The regular reward pool includes straightforward direct-hit support such as Battle Tempo, Deadeye, Orbital Rack, and Vital Shell. It also includes Tactical Reroll and Turn Guard. Turn Guard does not increase damage: one charge is consumed when turn-end damage occurs and sets that damage instance to exactly one. That can buy another launch, which is valuable only if the extra launch has a credible way to damage the boss.
This distinction prevents a common evaluation error. More HP or a guard can preserve an unfinished damage plan, while more damage can fail if the next descent ends the run. Choose the reward that answers the current failure mode, but keep at least one path in each category before the boss arrives: a way to reduce boss HP and a way to survive a poor return.
Turn-36 preparation checklist
- By turn 20: identify the ball or stat responsible for direct boss damage.
- By turn 30: verify that the plan still works when collateral and status damage are removed from the calculation.
- Before turn 36: preserve a reroll, guard, HP buffer, or another survival answer if the build offers one.
- During the encounter: aim for repeatable boss contact without ignoring ordinary blocks approaching the danger side.
- After each shot: distinguish direct boss damage from numbers produced on surrounding blocks.
What the boss reward screen is doing
After a boss defeat, the reward resolver requests one boss-upgrade candidate and builds a base set of two regular choices. Permanent boss-choice bonuses and eligible relic effects can expand that regular set, and an eligible boss relic may be injected into the offer. This is different from assuming that every visible card is drawn from one ordinary level-up pool.
Boss upgrades can provide damage, critical stats, XP, a ball slot, rerolls, or Turn Guard. Read the offer against the next weakness rather than the spectacle of the defeated boss. If the encounter exposed low direct damage, Apex Drive or Critical Protocol addresses a different problem from Tactical Reset or Fortress Compiler. If survival was the limiting factor, another damage card may leave the same failure unchanged.
Run a three-attempt boss test
For three runs, record the turn-35 loadout, the main direct-hit source, survival resources, boss damage per launch, and the selected boss reward. On the next comparison, change only one planning rule: add a Mark payoff, preserve one guard, or stop counting collateral as boss damage. This produces more useful evidence than declaring a whole character or element weak after one randomized run.
The purpose of the checkpoint is not to force every build into the same shape. It is to make sure the build contains at least one mechanic the boss actually accepts.
Last reviewed July 30, 2026. Found an outdated rule? Send a correction.