Block Smash: Your First Ten Turns, With a Real Playthrough
Your first run starts with Iron, one Normal ball, Bloodbound, and no permanent upgrades. The immediate job is to remove blocks before they descend. You may still be waiting for your first reward after ten turns.
This page follows one actual opening played on September 5, 2026, then explains what it revealed. It is an ordinary beginner run with several weak shots, not an optimized route or a promise about the board you will receive.
Before the first shot
- Choose START GAME (Iron), then Start Run. Locked characters display their achievement requirements.
- Locate the ball at the bottom, the block HP numbers, and the dashed danger line.
- Drag to aim and release to launch. Wait for the volley to finish before deciding where to aim next.
- Check the HUD after the shot: the next turn number, current coins, level, XP, and remaining HP.
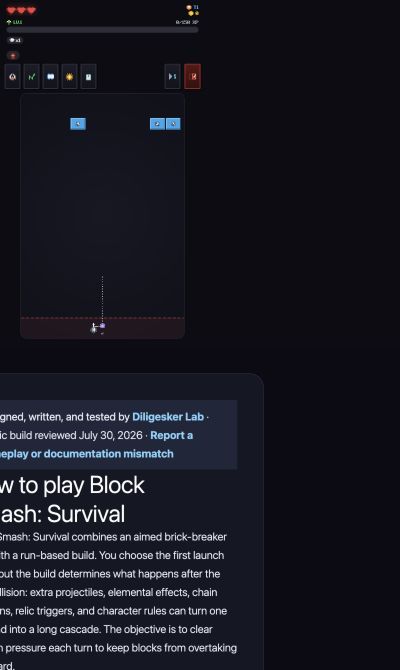
The recorded ten-shot opening
Conditions: fresh local progression, English interface, Iron, all permanent upgrades at level 0, and mouse/trackpad-style dragging. No upgrade or reward was selected during these ten shots because the run never reached level 2. The numbers below are the visible totals after each volley, not the reward from that volley alone.
| Shot | Decision | Coins after | XP after | Observed result |
|---|---|---|---|---|
| 1 | Direct shot at the right-hand pair. | 0 | 0/150 | No block cleared. |
| 2 | Aim again at the weakened right-hand block. | 3 | 8/150 | First clear; coins and XP increased. |
| 3 | Switch to the isolated block left of center. | 3 | 8/150 | The target weakened; no clear. |
| 4 | Finish that weakened block. | 6 | 16/150 | Second clear. |
| 5 | Aim toward the lower right-hand pair. | 6 | 16/150 | A block weakened; no clear. |
| 6 | Return to the one-HP block in that pair. | 9 | 24/150 | Third clear. |
| 7 | Try a right-wall rebound into the board. | 9 | 24/150 | Several blocks remained; no XP increase. |
| 8 | Finish the one-HP block on the right. | 12 | 32/150 | Fourth clear. |
| 9 | Try the left-side lane beside the stack. | 12 | 32/150 | The low left block weakened; no clear. |
| 10 | Finish that low one-HP block. | 15 | 40/150 | Fifth clear. The next screen reads T11. |
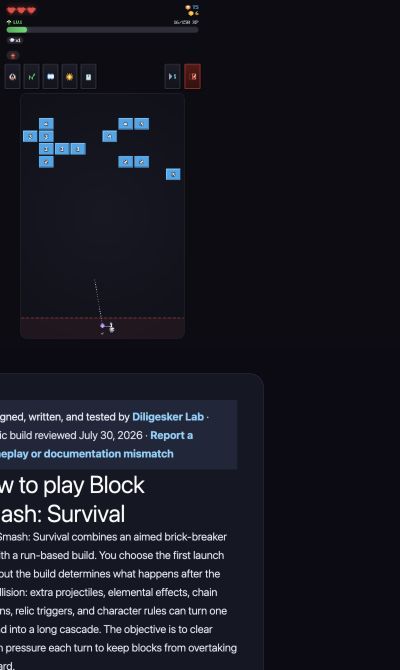
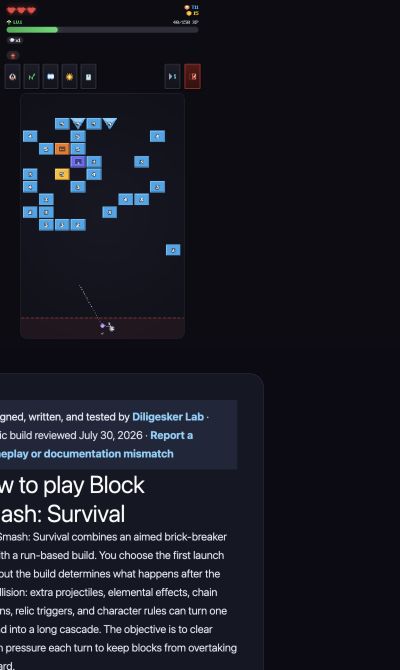
What these ten turns actually taught us
Surviving is not the same as controlling the board
All three hearts remained at the checkpoint, but a larger stack had accumulated. That is a warning before damage occurs. A shot that reduces one block without clearing it lets the remaining board descend again.
Finishing a one-HP block produced each of the five clears in this sample. It was a simple way to secure a result, but removing only one block every two shots was not enough to keep the board sparse.
A wall bounce needs a useful second contact
The right-wall attempt at shot 7 and the left-side attempt at shot 9 did not increase XP. Neither attempt cleared a block. A ricochet can reach the board and still fail to remove the immediate danger. Check which blocks the line can actually contact rather than counting the bounce itself as success.
Do not assume a reward schedule
The previous guide discussed early reward choices as though they would already exist around turns 4–6. This run ended its ten-shot observation at only 40/150 XP. There was no reward screen and no acquired synergy to describe.
When a reward does appear, compare it with a problem visible on your board: more effective contacts, a crowded lane, an approaching block, or a survival resource. Until then, aiming and block removal are the available decisions.
What to try on your next opening
- Identify the lowest block before choosing the most attractive distant target.
- Compare a direct finishing shot with a route that can make several useful contacts. The better option depends on the current geometry.
- Read the block type as well as its HP. Use the in-game Block Guide for unfamiliar symbols.
- Check progress toward the first level-up. More turns alone did not generate rewards in the recorded sample.
- Keep the first run on Iron while learning the controls; the starter guide explains the unlocks and later alternatives.
After a run ends
Read the result screen before entering the permanent shop. Separate coins and progress saved from the run from upgrades that existed only during the attempt. The first-purchase guide includes real shop prices and a worked budget comparison.
Limits of this record: one random opening, no boss encounter, no reward choice, and no purchase comparison. The screenshot at T11 is a checkpoint, not a game-over screen. Boards, critical hits, and later offers can differ in your run.