Block Smash Characters: Unlocks and Iron, Volt, Frost Builds
Starting today? Iron is available first
On a fresh browser profile, the current public build lets you start with Iron. The other five characters show Condition Not Met until their achievement requirements are met. Check ACHIEVEMENTS from the title screen to track progress.
| Character | Unlock condition in the shipped build |
|---|---|
| Iron | Available from the start. |
| Blaze | Complete 2 total runs. |
| Volt | Defeat 3 bosses across all runs. |
| Frost | Reach turn 30 in a single run. |
| Viper | Reach level 10 in a single run. |
| Fortuna | Earn 6,000 coins across all runs. |
The table was checked against the public game package on September 5, 2026; the fresh character screen showed Iron available and the five other characters locked. These are unlock conditions, not shop prices. Progress belongs to this browser, so another device or cleared site data can show a different roster.
Start with the recorded Iron opening, then use the profiles below when another character becomes available.
Written and tested by Diligesker Lab · Published July 25, 2026 · Reviewed July 30, 2026. Mechanical claims are checked against the current browser build, project data, or test records. Report a correction.
BLOCK SMASH STARTER BUILDS
A Block Smash run begins with a character, starter ball, starter relic, minimum launch angle, and a real trade-off. The three profiles below are not universal tier rankings. They show how Iron, Volt, and Frost ask the player to evaluate different reward offers.
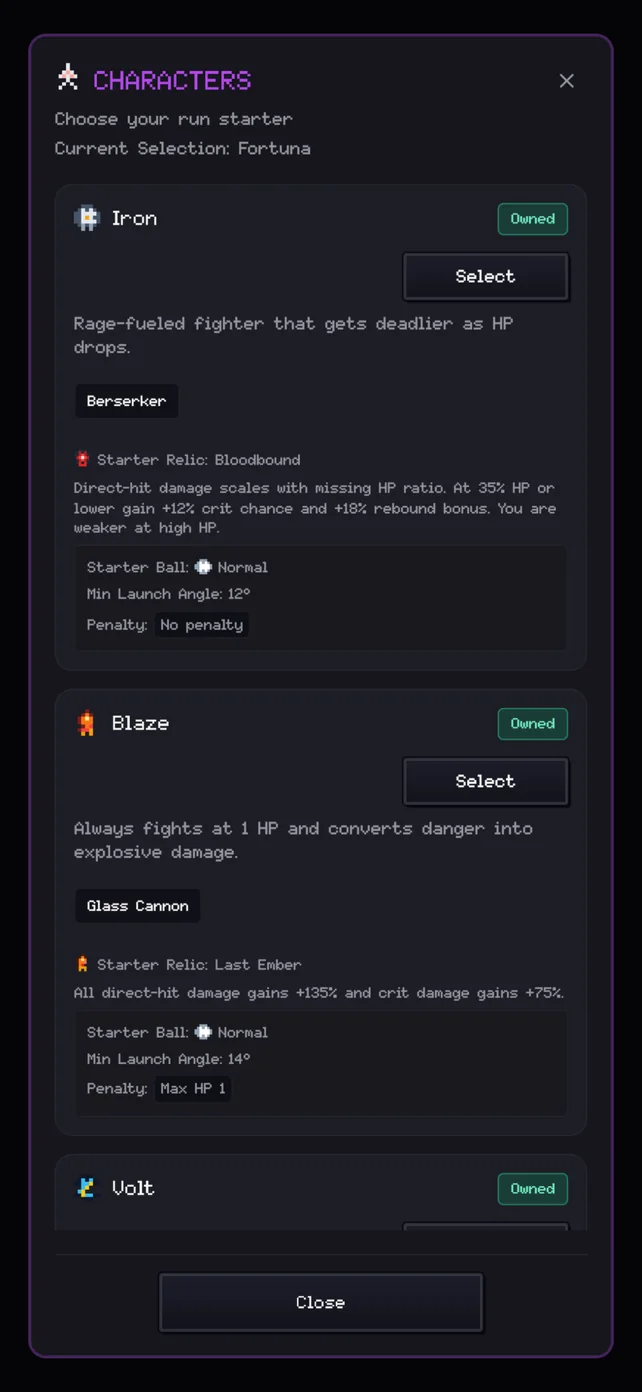
Iron and Bloodbound: damage that wakes up under pressure
| Starter field | Current rule |
|---|---|
| Ball | Normal |
| Minimum launch angle | 12° |
| Starter relic | Bloodbound |
| Relic effect | Direct-hit damage scales with missing HP. At 35% HP or lower: +12% crit chance and +18% rebound bonus. |
| Cost | Weaker at high HP. |
Iron’s rule creates a tension between safety and output. Losing HP can strengthen direct hits, crit chance, and rebound value, but the run still ends if the board’s pressure is not controlled. A useful Iron offer should be judged by whether it helps direct contact, repeated rebounds, or survival at the HP level you can actually maintain.
Bloodbound is always active; it is not a one-time trigger. The guide therefore avoids promising one “correct” relic chain. A defensive reward can keep the low-HP window playable, while an attack reward can make that dangerous window more productive.
Volt and Storm Relay: use the board, not one target
| Starter field | Current rule |
|---|---|
| Ball | Lightning |
| Minimum launch angle | 20° |
| Starter relic | Storm Relay |
| Relic effect | Base chain count +2; transfer loss capped at 25%; bosses take 35% chain damage. |
| Starter penalty | XP multiplier ×0.5. |
| Relic limitation | Single-target setups are less consistent than direct-hit builds. |
Volt gains value when lightning can move through several available targets. The larger 20° minimum angle also changes the opening geometry: very shallow shots are not available at the start. Volt also begins with a 0.5× XP multiplier, so every reward choice is made under slower early progression. Before choosing another chain effect, look at whether the board is dense enough to supply destinations.
Against a lone target, the same chain package has fewer places to travel. Storm Relay still gives defined boss chain damage, but it does not turn a single-target board into the same situation as a crowded wave. Reward choices should be read against the current board, not only against the word “lightning.”
Frost and Permafrost: prepare the second hit
| Starter field | Current rule |
|---|---|
| Ball | Ice |
| Minimum launch angle | 13° |
| Starter relic | Permafrost |
| Relic effect | A direct hit against an already-frozen non-boss target deals +70% damage. Freeze can spread to one nearby block for one turn. |
| Cost | Starts with −25% damage. |
Frost’s strongest listed bonus is conditional: the target must already be frozen before the direct hit. That makes sequencing more important than reading the +70% number in isolation. The first contact can prepare a target or spread control; the later contact receives the larger direct-hit reward.
Freeze spread has no damage of its own. It is board control and setup. On a crowded board, one prepared hit can create a nearby frozen target for the next path. On a sparse board, the starting damage penalty is more visible because there are fewer neighbors to control.
Side-by-side decision guide
Iron
- Value state: missing HP and repeated direct contact.
- Starting constraint: high HP produces less Bloodbound value.
- Before an offer: ask whether the run can survive the intended HP range.
- Do not assume: low HP is automatically safe.
Volt
- Value state: several useful chain destinations.
- Starting constraints: 0.5× XP multiplier and 20° minimum angle.
- Before an offer: ask whether the current board supports chaining.
- Do not assume: Lightning is automatically best against one target.
Frost
- Value state: a target frozen before the payoff hit.
- Starting constraint: −25% direct-hit damage.
- Before an offer: ask whether Freeze can be applied before the next direct hit.
- Do not assume: Freeze spread deals damage.
How to test a starter package yourself
- Start a run and note the character, ball, minimum angle, and stated penalty.
- Use the first few turns to observe the starter effect without forcing a second theme.
- At each reward, describe what it changes on the current board before choosing it.
- After the run, compare the result with the stated cost: high-HP weakness, sparse-board inconsistency, or starting damage loss.
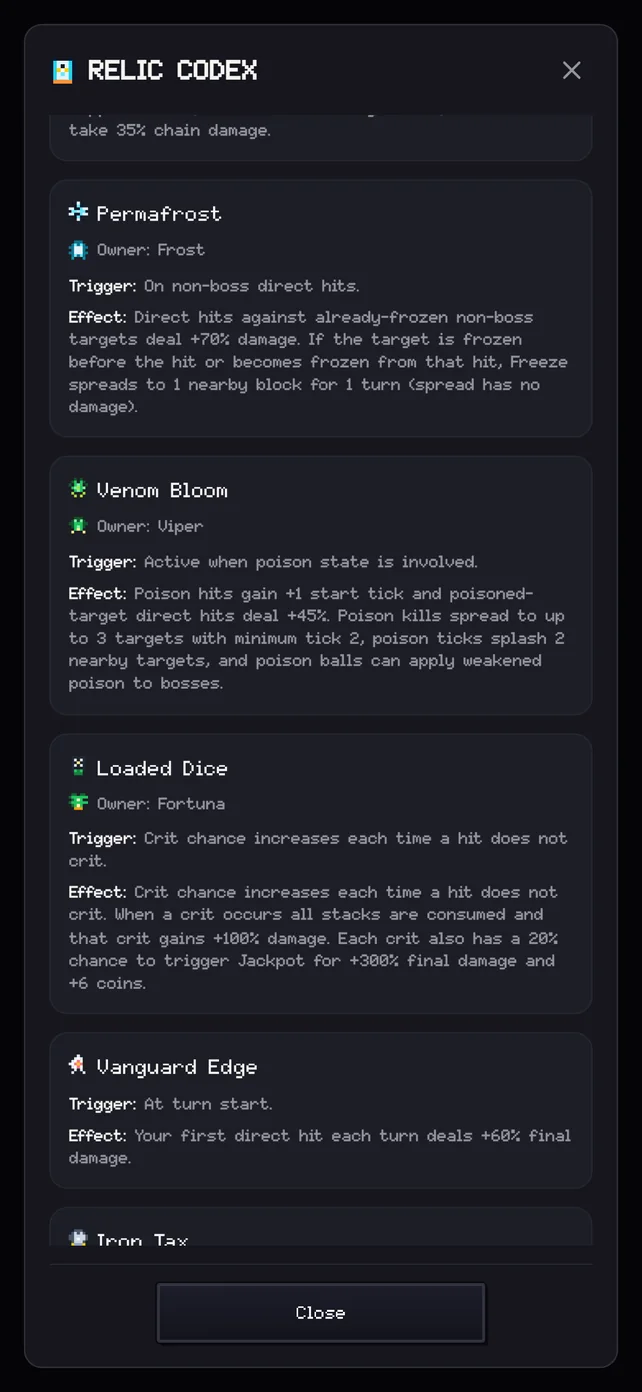
Other characters use different rules: Blaze fixes maximum HP at one, Viper builds around poison state, and Fortuna accepts high run-to-run variance. They should be evaluated from their own starter text rather than copied into one generic build formula.